Friday, May 8, 2015

Mother's Day

It's almost Mother's day & this year I made my own craft for the kids to do but then found an adorable activity on the blog Teaching with Love and Laughter and I just had to do both.

First we read My Mother is So Smart! by Tomie DePaola. If you don't have a copy of this book you can read it for free on www.wegivebooks.com!


We talked about what is special about our Moms and then completed a super cute directed drawing activity from Heidi's blog and writing activity from Teaching with Love and Laughter that you can read more about here. The finished products were so cute that I just had to share!


Then, we did the very simple (and seemingly boring in comparison to the first one) craft that you can buy at my TPT store by clicking on the picture below.


Have a great weekend!


your photo name

Monday, May 4, 2015

Teacher Appreciation Week

Everything in my store is 20% off for Teacher Appreciation Week! Plus you can get an extra discount when you use the code THANKYOU. Enjoy! :)


your photo name

Friday, May 1, 2015

Subject-Verb Agreement

According to our Journey's Kindergarten Curriculum, I am supposed to be teaching subject-verb agreement this week, however, we do not have any of the resources that go along with the plans, so I had to get a little creative!

I made my own little subject-verb agreement unit which includes posters, whole-group pocket chart activities, and independent practice worksheets and I used them with my class before sharing on TPT. The kids really seemed to get it by the end of the week & I had fun teaching because I love testing my own products with them and I love interactive learning!


We started out with a lesson on what the subject and verb are in a sentence by looking at some posters from the unit and discussing the example sentences. Then we worked together to find and circle the subjects and underline the verbs in a few different sentences that I projected up on the screen (these are included in the packet & can be used as a pocket chart activity as well).


And of course wrapped it all up with a worksheet for independent practice:


In our next lesson we looked at another poster and discussed the fact that the subject and verb need to agree with each other. I told them that they have a "meeting" and agree on who is going to carry the letter S. If the subject is plural then the subject agrees to carry the S and the verb doesn't have to worry about a thing. If the subject is singular, however, then the verb agrees to carry the S and gives the subject a break. Then we read the example sentences on the poster and I made sure to very clearly point out and emphasize the fact that when the sentence was talking about more than one WHO or WHAT (A.K.A. a plural SUBJECT) then the subject got the s!!!!! (I hope you can sense the overdramatic articulation and repetition that I used in this discussion from my italicizing, bolding, and underlining☺️ ).

Feel free to take this freebie for your class!
Once I felt like they sort of got it, I whipped out a pocket chart activity and told them that I would read the sentences out loud and that they would help me choose the correct words to put in the blanks. For the first few sentences I pointed out whether or not the subject had an S at the end to help them choose the verb that did or did not have it's own S. After that I let them do it all by themselves.

https://www.teacherspayteachers.com/Product/Subject-Verb-Agreement-Unit-1824388


When we finished completing the pocket chart sentences, we headed back to our tables and did a "Do the Subject and Verb agree?" worksheet. (They were all laughing a little too hard when I read the sentences aloud that didn't make sense).


If you want to try this unit it out with your class, you can click on the picture below and purchase it from my TPT store. Have a great weekend! 


your photo name

Friday, April 24, 2015

Earth Day

This week we celebrated Earth Day in the middle of our "Taking Care of Earth" unit. That worked out pretty nicely...almost like I planned it that way, huh? 


We spent this and last week learning about the Earth, it's natural resources, and our responsibility to take care of the environment by reducing, reusing, and recycling. I use this fantastic curriculum from EngageNY to show the kids pictures and read to them as if "Mother Earth" is talking to them. If you look around their website you can find more resources such as picture flip books, lesson plans, etc. 


We also used a few activities from a Go Green for Earth Day unit that I picked up a few years ago (I can't seem to find where I got it, but if I do I'll add a link!)

On Earth day we did lots of fun activities from that unit as well as my own Taking Care of Earth Unit.

 We did some ten frame matching with earths and raindrops:


Then the kids did their own ten frame worksheets but filled in raindrops instead of counters:


Next we did raindrop addition. I projected this little mat with two storm clouds on it and placed different numbers of raindrops on each side. Volunteers came up to the board to count, write the addition problem, and add:


Our next activity was an Earth Day Syllable sort. I gave each of them a card with a picture on it and we took turns clapping out the syllables and then placing the card in the correct pocket chart.


Finally we got to the part that I was most excited for - our Earth Day craft:

We started by writing on this heart template
1. Why we love the Earth
2. One thing that we promise to do to take care of it
(Disclaimer: The only word that I spelled for them was "Earth", the rest they came up with on their own)


"I love the Earth because it is my home. I promise to pick up trash."

"I love the Earth because it is our home. I promise to not lit(t)er."

"I love the Earth because it has natchrul (natural) risosis (resources). I promise to throe (throw) uwae (away) my chrash (trash)."

We glued the writing hearts to a larger red heart and then put them aside. 
For the Earths, I gave them one green piece of land at a time and showed them where to glue it so that it would actually resemble our planet in some way:


Lastly, I gave everyone a giant letter I and a giant piece of paper to put everything together on:


Once everyone finished, I cut them out and hung them up on our classroom door:


If you would like the templates for the craft that we did, you can click on the picture below:


Or if you would like all of the worksheets that we did in our taking care of Earth unit and the craft you can grab them all together here.

your photo name

Saturday, April 18, 2015

Auction Project

Every year our school hosts a Casino Night fundraiser for parents and teachers. It's a really fun night! Everyone gets all dressed up and we have a really nice dinner, drinks, gambling, dancing, etc... One of the biggest "money makers" at Casino Night is our silent auction. The K-4 teachers are supposed to put together some kind of class art project for the parents to bid on and the proceeds go to the school. This year I came up with a very simple project that turned out really nicely and I want to share it with you!

First I gave each student a long, thin white strip of paper and had them draw a flower on it. I was very specific about the fact that they had to draw the petals at the very top of the page and that they could make the stem as long as they wanted. I also asked them to make it unique - to draw the most beautiful flower they could imagine and NOT copy the person next to them.

Next I cut out all of their flowers and made sure to rewrite their names on the backs so I wouldn't forget who the artist was for each one. I used mounting tape to put them all down on a large, black piece of paper and cut off the bottom of the stems. (If they had a cool stem I made sure to add it back on to the bottom of the page).


Then I used a paint marker to write each of their names next to their flowers and put the whole thing inside a 16x20 black wood float frame that I bought at Jo-Ann Fabrics (for less than $20!).


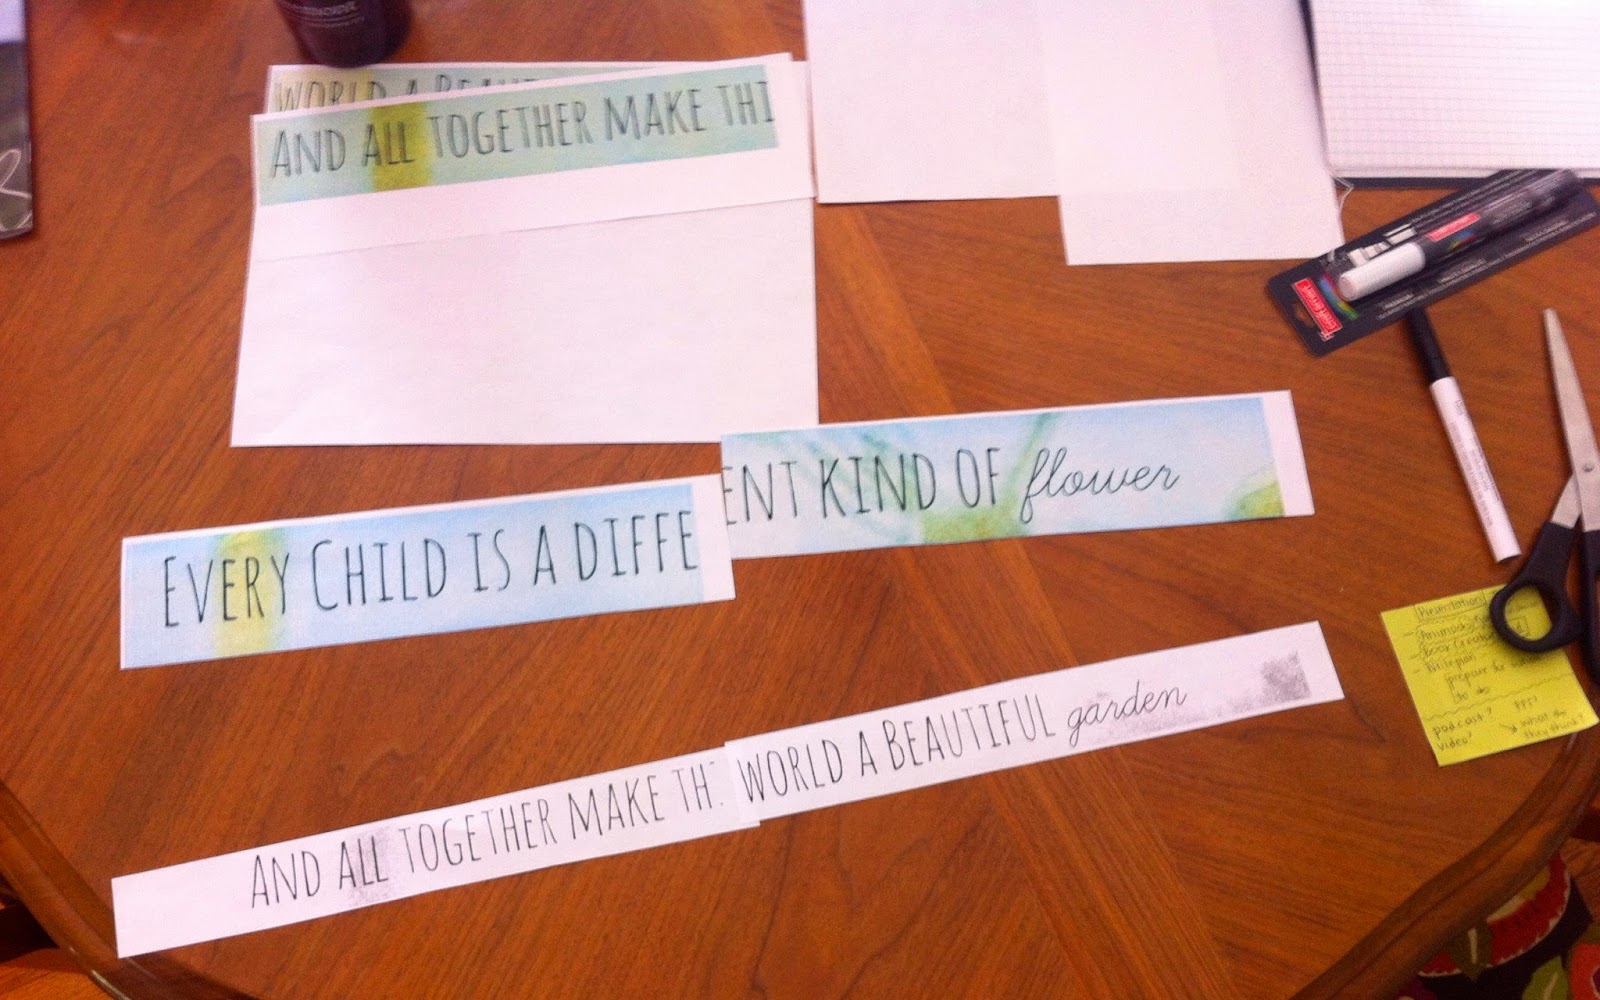
Finally, I printed out the quote, "Every child is a different flower, and all together make this world a beautiful garden", in exactly the font and size that I wanted.


I placed the quote underneath the glass and traced it, and here is my finished project:


your photo name

Tuesday, April 14, 2015

Lent & Easter

We have been busy, busy, busy observing the season of Lent and preparing for Holy Week and Easter! Since we get out of school for vacation before Easter Sunday, I decided to focus on Holy Week early and begin our celebration of Jesus' resurrection this week. Here are a few activities that we did & I'll do my best to attach links so you can do them yourself if you would like!

Holy Week
We put together these mini books and read them together before discussing what happened on each day of Holy Week in more detail.

Stations of the cross
In the past I have taken my class to Stations of the Cross with the rest of the school and I have always felt like the kids were either bored or confused by all of the kneeling and standing and reciting and kneeling and standing and so on. This year, I decided to change things up and we have been doing our own stations of the cross in the classroom using the Multimedia Stations for Children from Loyola Press. I highly recommend this for little ones! The descriptions of the stations are short and my students really seemed to be interested and to understand what was going on (one of my little tough guys even cried the first time we did them together!)

Palm Sunday
I had the kids trace their handprint (palms...get it?) on green paper six times and cut them out. Then they glued three together to look like a palm branch and taped a popsicle stick onto the back.

After we read the story of Palm Sunday in our Children's Bible and learned the first part of the song Shout Hosanna we reenacted the scene. They waved their palm branches and sang while our volunteer Jesus walked through pretending to ride his donkey. It was very cute and they really had fun with it.

Holy Thursday
To explain Holy Thursday I read the story from our Children's bible of the washing of the feet, the last supper, and Jesus' arrest after praying in the garden. I was planning on having the kids do a Last Supper coloring page afterwards, but all of our printers AND copiers went down and my personal printer ran out of ink so I had to improvise. We did some directed drawing instead - I walked them through step by step but told them to get creative and that their's didn't have to look exactly like mine. Here's what mine ended up looking like:

And here are some of their masterpieces.


As you can see, some of them got very creative!


Good Friday
I found this art project on Do Small Things With Love and loved it but wasn't sure if we could handle watercolors. Instead, we ripped up some construction paper and glued to make a mosaic/stained glass window looking thing and it turned out to be pretty great!


Easter
This year I made my own Easter packs for Math and Literacy that you can grab for yourself from my TPT store if you are interested! Here are a few of the activities that are included:

Letter Hunt:
I hid the letter eggs around the room and showed them how to look for one at a time & to be sneaky about it and then let them go on a hunt. Each time they found one they gave them to me and then looked for more. Once I had all 26 we met on the carpet, put them in the pocket chart after taking turns making the sounds, and then put them in alphabetical order.


Story Elements: Before reading, I showed the kids the story elements graphic organizer that we would complete after the story and we reviewed the parts of a story with our favorite song by Dr. Jean:
Then we read Old Hippo's Easter Egg and stopped along the way to discuss the characters, setting, problem, and solution. After going over the worksheet one last time, I sent them to their tables and they got right to work. Of course my early finishers asked if they could color in the "peep, egg, chick, and other egg" and I said sure, why not...it is Easter after all :)


You can grab these and more Easter activities from my TPT store!


OR buy both together for a discounted price :)


your photo name

Sunday, March 29, 2015

Long Time, No Blog

Hello strangers,

I apologize for the long break that I took from posting - it has been a very busy month!! Since it has been so busy I have a lot to share with you, so buckle up.

We have been working on informational/informative/report writing for the past few weeks. Because the common core standards require us to "explore a variety of digital tools to produce and publish writing", I have started a whole new method of teaching writing. Here's what our weekly routine looks like now:

Monday: Write a report about your weekend (this gives me time to get Monday stuff taken care of like copies, emails, checking homework, etc...)

Tuesday: Review the writing process (using the song/chant in the video below) and complete step 1 -Brainstorm. We use a planning page from Writing A-Z to jot down ideas and notes for a beginning sentence, three details, and a closing sentence).


Wednesday: Use planning page to write a journal. I model using my planning page first to write nice, detailed sentences that make sense and then give them about 20 minutes to work on doing their own while I walk around the room and give them feedback/suggestions. 

Thursday: Revise. First I model checking my work and fixing mistakes, then I walk them through checking their own work for spelling, grammar, punctuation, handwriting, etc..., and finally they get to help a friend (of my choosing) edit their work and vice versa. 

Friday: Type, print, illustrate, and publish. I created a class account on Google Drive with a folder for each student. It took a lot of practice, but they are all able to log in and create documents in their folders now. On Fridays I have them bring the journal that they wrote to the computer lab and work on typing it up. When they are finished I print and allow them to draw a picture before we "publish" their work by hanging it up in the classroom. 

We went through this whole process for St. Patrick's Day except instead of drawing a picture we attached their reports to this I Caught a Leprechaun craft.


Since my last post we finished our second trimester and began Trimester 3. In the third trimester I always like to make some changes to get the kids extra ready for First Grade. I send home more difficult homework, assign a book report every Monday, and we take spelling tests once a week.

Book Reports
The reports are super simple - they write the author, illustrator, genre, and draw a picture of the beginning, middle, and end of the story. I assign them on Monday and they are due the following Monday. You can pick up a copy of the template that I use at my TPT store for just $1.00.


Spelling Tests
Now you may be thinking - why give spelling tests in Kindergarten when that is not part of the curriculum?!? Well, I started doing this last year and found that:
a) The students love it! They feel very grown up when they get their first set of spelling words and I make sure they know that this is First Grade level stuff.
b) It helps to improve their writing so much!!! When they have these words memorized, they no longer need to look at the word wall and are able to focus on making the content of their writing better!
c) It helps them (AND their parents) to get into the habit of practicing spelling words which they will have to do for the next few years.

The way that I make it work is by starting verrrrryyyy sllllooowwwwlllllyyyy. I give them super easy words at the beginning and gradually increase the difficulty as we go. This year I have created five practice pages per week that I send home as homework & you can grab a copy of them for your class if you are interested. (These words are taken from my Kindergarten Rainbow Sight Words & can be used as sight word practice sheets instead if you prefer!)
The first packet is a freebie so you can try it out & the rest are only $1 each.

Enjoy!
your photo name